
natural makeup looksoft makeup tutorialeveryday makeup routinefresh makeup for beginnersno-makeup makeup look
How to Create a Fresh and Soft Makeup Look
Learn how to create a fresh and soft makeup look with simple skincare preparation, lightweight makeup, natural color, gentle application, and beauty hygiene tips.
October 26, 2026 Seen by 49
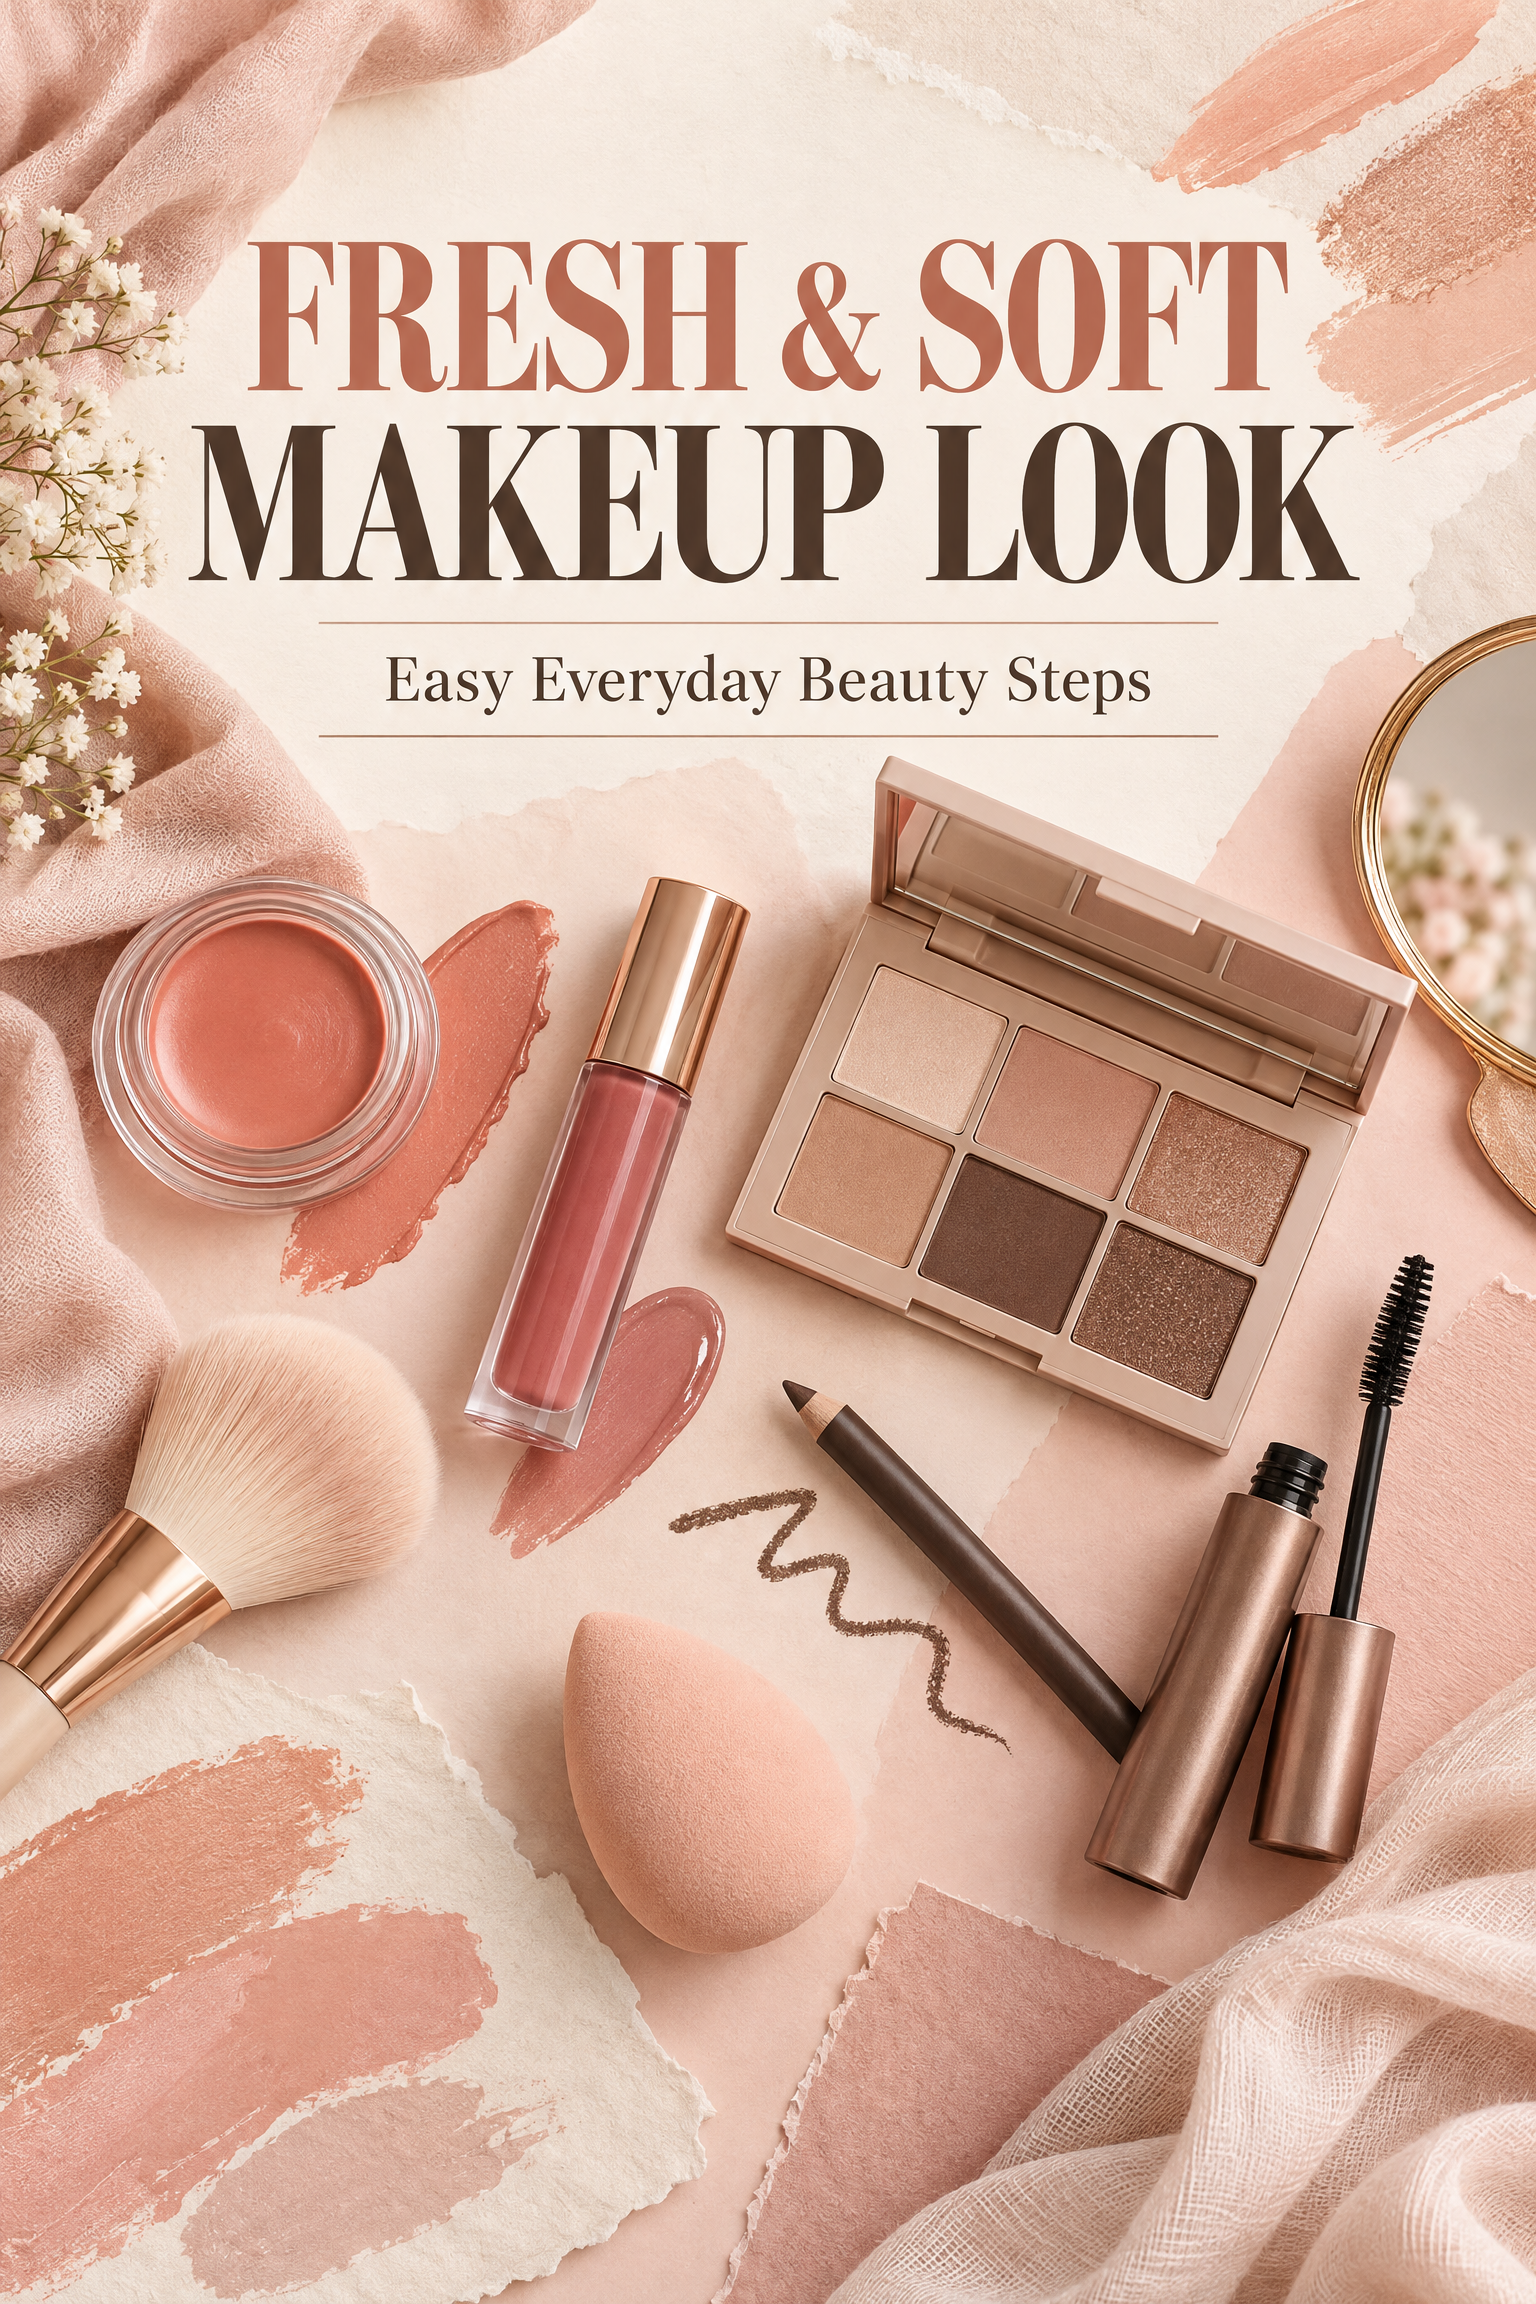
A fresh and soft makeup look is ideal for everyday wear, work, casual outings, brunch, family events, and moments when you want to look polished without appearing heavily made up. The style focuses on comfortable skin, light layers, natural-looking color, softly defined eyes, and a healthy-looking finish. The goal is not to hide every natural feature. Instead, this makeup style helps you look awake, even-toned, and refreshed while allowing your own skin and facial features to remain visible. It can be adapted for dry, oily, combination, sensitive, and acne-prone skin by choosing products that match your needs. You do not need a large makeup collection to achieve this look. A gentle skincare routine, a few reliable products, clean tools, and a light hand can create a beautiful result.
What Makes a Makeup Look Fresh and Soft?
Fresh makeup usually has a comfortable, natural-looking complexion rather than a thick or heavily powdered base. Soft makeup uses blended colors and avoids sharp, overly dramatic lines. The finish may be dewy, satin, or softly matte depending on your skin type and personal preference.
Common features include:
Lightweight foundation, skin tint, or concealer
Natural-looking blush
Softly groomed brows
Neutral eyeshadow
Light mascara or softly defined lashes
A subtle highlight if desired
Tinted lip balm, gloss, or a natural lipstick shade
Fresh does not have to mean shiny, and natural does not mean colorless. You can choose a matte base for oily skin, a radiant finish for dry skin, or a balanced satin finish for combination skin.
Step 1: Prepare Your Skin Gently
Makeup usually looks smoother when the skin feels comfortable and moisturized. Begin with a clean face and use skincare products that suit your skin type. A basic preparation routine can include a gentle cleanser, moisturizer, and daytime sunscreen. Do not apply several new products immediately before an important event. A new serum, exfoliating acid, mask, or fragranced cream may cause redness or irritation. Use products your skin already tolerates well. The American Academy of Dermatology recommends gentle cleansing, avoiding aggressive scrubbing, and choosing skincare products according to your skin’s needs. These habits can help create a more comfortable surface for makeup. Allow moisturizer to settle for a few minutes before applying makeup. If your face still feels very slippery, gently press a clean tissue over areas with excess product. Do not rub the skin.
Step 2: Apply Sunscreen Before Makeup
If you are going outdoors during the day, apply sunscreen as part of your skincare preparation. The AAD recommends broad-spectrum sunscreen with SPF 30 or higher and water resistance. Apply sunscreen according to the product directions and allow it to settle before layering makeup. Remember areas that are often forgotten, such as the ears, neck, hairline, and hands. Makeup with SPF should not automatically replace a dedicated sunscreen because people may not apply enough makeup to achieve the protection shown on the label. Choose a sunscreen finish that feels comfortable under makeup. If your skin is oily, you may prefer a lightweight or noncomedogenic formula. If your skin is dry, a moisturizing sunscreen may help reduce the appearance of flaky areas.
Step 3: Use a Light Base
A fresh makeup look does not require full-coverage foundation. Start with a skin tint, tinted moisturizer, light foundation, or a small amount of your usual foundation mixed with moisturizer if the product instructions and formula allow it. Apply a thin layer from the center of the face outward. Use a clean makeup sponge, brush, or clean fingertips, depending on the product. Build coverage only where you need it rather than applying a thick layer everywhere. For a natural finish, leave some areas of your skin visible. The aim is to even the appearance of the complexion while keeping the finish believable. If you have redness or discoloration, apply a little extra product only to those areas. People with acne-prone skin can wear makeup. The AAD recommends choosing products labeled “oil-free,” “won’t clog pores,” or “non-comedogenic.” These labels can help people who are concerned about makeup contributing to clogged pores, although no product works perfectly for every individual.
Step 4: Conceal Only Where Needed
Use concealer strategically instead of covering the entire face. Apply a small amount under the eyes, around the nose, or over a blemish if you want additional coverage. For a soft appearance, use a shade close to your skin tone. A very light concealer may make the under-eye area look gray or overly bright. Tap the product gently with a clean sponge or fingertip, then blend the edges so there is no visible border. Avoid repeatedly rubbing over active breakouts. The AAD recommends applying makeup gently because friction may irritate acne-prone skin.
Step 5: Add Natural-Looking Blush
Blush brings warmth and life to the face. Cream, liquid, and powder formulas can all work. Choose the texture that feels comfortable and lasts well on your skin. Soft peach, rose, warm pink, terracotta, berry, and muted coral can create different effects. Select a shade that complements your undertone and the rest of your makeup. Smile gently and apply blush to the area where your cheeks naturally lift, then blend slightly upward toward the temples. Use a small amount first. It is easier to add color than to remove too much. For a coordinated look, you can use a similar color on the lips. Avoid applying a product to the lips and then directly using the same applicator on the cheeks unless the product is specifically designed for both areas and hygiene instructions allow it.
Step 6: Shape the Brows Softly
Brows frame the face, but a fresh makeup look usually avoids a harsh, block-like brow. Brush the hairs upward with a clean spoolie. Fill only sparse areas with a brow pencil, powder, or fine-tipped product. Use short, light strokes that follow the direction of natural hair. Blend the front of the brows so it looks softer than the tail. A tinted brow gel can add definition without creating a dramatic effect. If you have sensitive skin around the eyes, avoid products that cause burning or itching. Stop using any cosmetic that produces a concerning reaction.
Step 7: Create Soft Eye Definition
Choose neutral shades such as beige, taupe, soft brown, muted rose, champagne, or warm peach. Apply a light shade over the lid and use a medium shade through the crease if desired. Blend carefully so there are no hard edges. For a gentle daytime look, replace strong black eyeliner with brown, charcoal, or a softly blended pencil. You can apply a thin line close to the upper lashes and soften it with a small brush. Curl your lashes if you use a clean, suitable eyelash curler. Apply one or two light coats of mascara, concentrating on the roots and outer lashes. Remove clumps before the product dries. The FDA advises not sharing eye cosmetics and recommends discarding old or dried mascara. Manufacturers commonly recommend discarding mascara two to four months after purchase, and adding water or saliva to dried mascara can introduce bacteria. Never apply eye makeup in a moving vehicle. The FDA warns that a sudden stop or movement can cause an applicator to injure the eye.
Step 8: Choose a Soft Lip Color
Complete the look with lip balm, tinted balm, gloss, or a comfortable lipstick. Neutral pink, rose, peach, soft brown, mauve, and berry shades can all work beautifully. If your lips are dry, apply a comfortable balm and allow it to settle. Avoid aggressively scrubbing flaky lips because this may cause irritation. A lip liner in a shade close to your natural lip color can gently define the edges without making the makeup look heavy. For a softer finish, tap lipstick on with a fingertip instead of applying a thick layer directly from the tube. If you prefer shine, add gloss only to the center of the lips.
Step 9: Set the Makeup Without Losing Freshness
You do not need to cover the entire face with powder. Apply a small amount only where you need to reduce shine, such as the forehead, sides of the nose, or chin. A finely milled translucent powder can help makeup last, while a setting spray may bring the layers together. If your skin is dry, too much powder may emphasize texture. If your skin is oily, a light powder in selected areas may help control shine without creating a flat appearance. Carry blotting papers or a clean tissue for touch-ups instead of repeatedly adding foundation throughout the day.
Makeup Hygiene Tips to Remember
Clean tools support a better application and help reduce the buildup of oil, product residue, and microorganisms. The AAD recommends cleaning makeup brushes weekly and ensuring that you are the only person who uses them.
Keep these habits in mind:
Wash your hands before applying makeup.
Do not share makeup, brushes, sponges, or eye products.
Keep product containers closed when not in use.
Do not add water or saliva to mascara.
Do not use eye makeup if you have an eye infection.
Replace products that change smell, color, or texture.
Avoid applying makeup while traveling in a moving vehicle.
Read labels and follow product instructions.
The FDA explains that cosmetics can degrade because of moisture, heat, sunlight, air, and repeated exposure to applicators. Store products in a cool, clean place rather than leaving them in a hot car or steamy bathroom.3 4
How to Make the Look Last
Start with thin layers and allow cream products to settle before applying powder products. Avoid touching your face throughout the day. If you need to refresh the complexion, gently blot oil and add a small amount of product only where required. For special events, test the complete look in advance. This gives you time to notice whether a foundation oxidizes, a lipstick feels drying, or an eye product irritates you.
Final Thoughts
Creating a fresh and soft makeup look is about balance. Prepare your skin gently, apply lightweight layers, brighten only where needed, and use soft color to define your features. You do not need heavy coverage or an extensive product collection. Choose makeup that suits your skin type and lifestyle. Keep your brushes and products clean, remove makeup before bed, and give your skin time to rest between looks. With a little practice, you can create an everyday makeup style that looks polished, comfortable, and naturally fresh.
Beauty Disclaimer
This article is for general educational purposes and is not a substitute for medical, dermatological, or eye-care advice. Stop using any cosmetic that causes burning, swelling, itching, rash, eye pain, or persistent irritation. Seek professional medical advice for ongoing skin concerns or symptoms affecting the eyes.
References
[1] 10 Skin Care Secrets for Healthier-Looking Skin — American Academy of Dermatology
[2] I Have Acne! Is It Okay to Wear Makeup? — American Academy of Dermatology
[3] Eye Cosmetic Safety — U.S. Food and Drug Administration
[4] Shelf Life and Expiration Dating of Cosmetics — U.S. Food and Drug Administration
Follow the Charmafrica channel on WhatsApphttps://whatsapp.com/channel/0029VbDjEnP42DcbgRu5aq3g 0
Comments
Sign in to leave a comment.